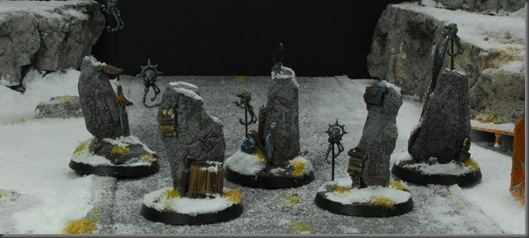
I decided I wanted to make Norse style
First job is to head out into the world and pick some suitable “scaled” monolithic rocks.

Once you have enough, return to your lair and what I did was mount them on a firm base using blutak. this was a bit of a mistake, and I knew it at the time, but I didn't have plasticene (which would have been Waaaaay better) but I did have blu-tak.
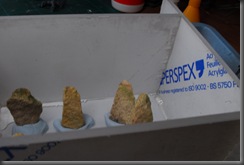
The next task is to build a support structure around the rocks to prevent your mold making materials from going all over the shop.. I see a lot of people online use lego for this, but again, not having any I use old off cuts of perspex, and glue them with hot glue, as I know i can break this apart with relative ease later
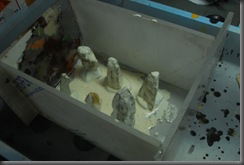 once the structure is complete, it’s time to start making the mold
 I used laytex for this, as I do for any rock castings, such as the rocks on bases or in larger terrain pieces. although you could use rubber.
the first layer is “neat” laytex brushed on so as to capture all the detail.
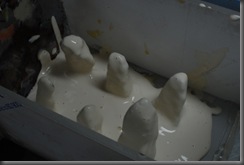
The next layer is with added thickener and goes on heavy.
you can keep adding layers slowly, and indeed should, but my laziness will not allow this, so I put a quite thick application on, and walk away for 24 hours.
24 hours later….
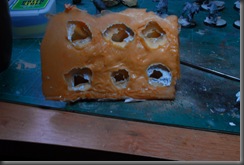
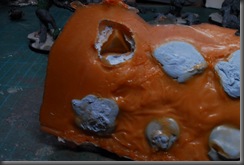
And it’s time to pick apart the mold and see what we made… as you can see, clearing away the blu-tak was a bit more difficult that I would have liked.. note to self.. buy plasticene…
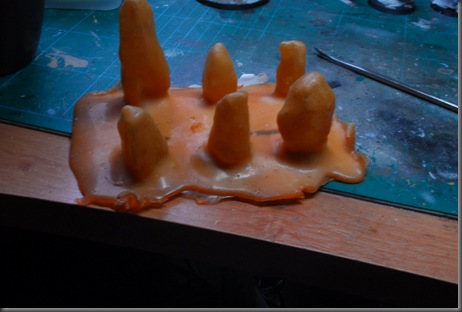
The empty mold…
not going to be easy to cast from this.. a support structure is needed…
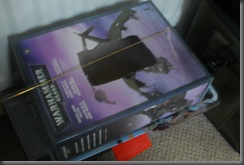
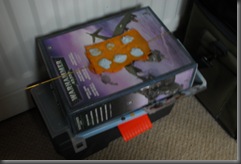
Tah-Dah!
metal rod, box.. hole.. sorted. Now in the past I’ve used plaster and mod-roc to make a plaster outer support brace but this really wasn't necessary for this, it just needed holding 2upside down” for plaster to be poured.
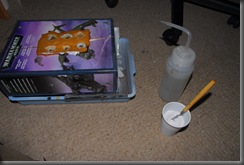
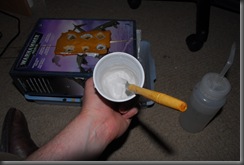
plaster of paris is tricky stuff. it can sometimes be so exothermic it will burn you quite badly, and it contains lime, so watch your eyes.. that said, its awfully useful stuff.
most packets you can buy in the hobby shop have instruction, I would suggest following them, as I never do.. been using the stuff so long i tend to eyeball it. in this case I made my plaster a tad too thick for the mold, and got a few more air bubbles in my cast that I would have liked, but no matter, gave me an excuse to explain how to fix them :)
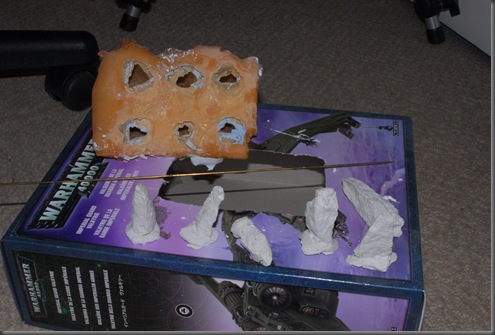
Two hours later, I can de-mold and look at my cast stones.
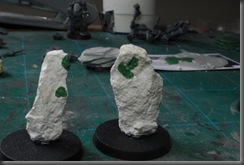
The air bubbles are filled with GS and the texture applied by pressing one of the original stones into the still soft GS to transfer the correct texture.
Also, at this stage the castings are glue gunned down to 40mm bases.
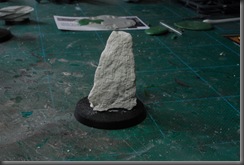
The design is carved into the surface of the soft plaster with a needle mounted in a dowel
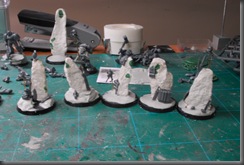
And the newly created

And here they are in primer.
For painted pics, see the post here.
Thanks for reading, comments or questions always welcome!

That's pretty involved - you really did pull out all the stops. I just stuck some slate upright on a base with milliput and left it at that. Mind you, your's look a heck of a lot better, especially with the carvings on it.
ReplyDeleteOn that note, I'm off to see the Northern-most raised Runestone in the World this summer, I'll get plenty of pics for inspiration while there I think :D
Hah, yeah. thing is, with a backgrounmd teaching arts bhased subjects, it doesnt feel that much effort, cos i'm doing stuff like this all the time.. more than that. its short periods of activity spread over a good few days, so that lightens it too.
ReplyDeleteI knew I wanted to carve the surface, and that meant I had to cast them.
Ostersund? if so it was one of my inspirations for doing these :)
I envy you the ability to do such things, and to be able to do these things all the time sounds like it could be a lot of fun (although perhaps it gets boring as a job).
DeleteYou are right on the location, its Mrs. G's hometown, I was going to get pics so I could paint the exact pattern onto my objective markers.